
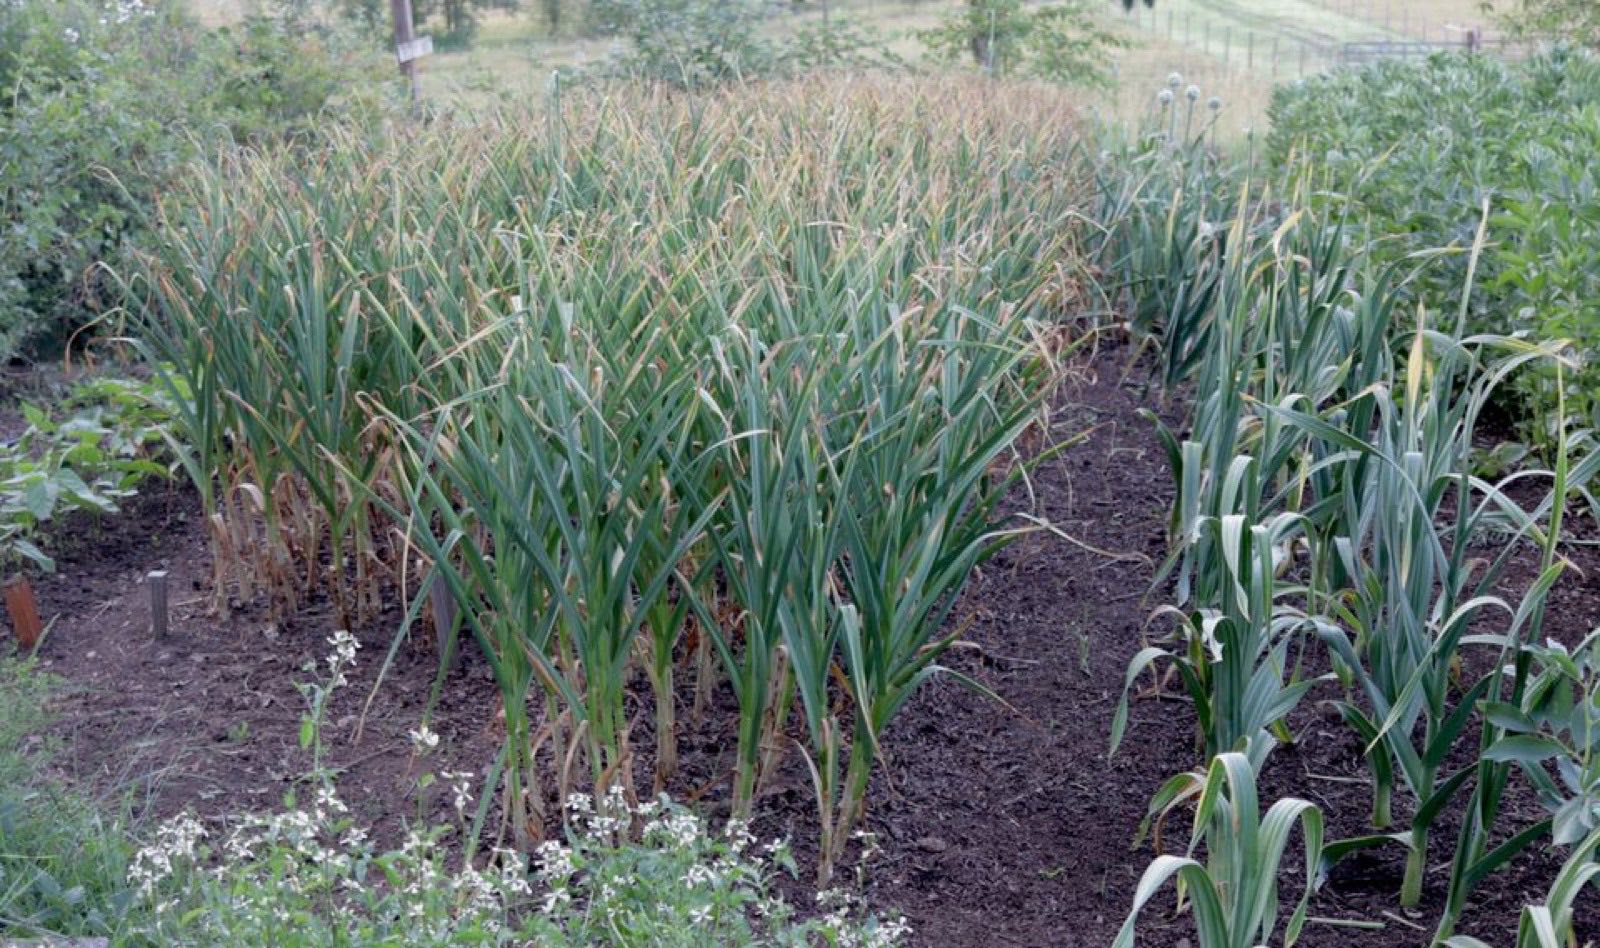
From clove to bulb
Hardneck garlic is one of the most forgiving crops you can grow. Get it in the ground in fall, keep it mulched, and it mostly takes care of itself until harvest.
Plant in the fall, harvest the next summer. That's the whole rhythm of growing garlic — a long, patient crop that rewards a little care up front with big, storable bulbs the following year.
This guide covers what we do on the farm and what works for home gardens across most of the country. Your exact dates will shift with your climate, but the steps stay the same.
Garlic goes in the ground in fall — exactly when depends on your winters.
In mild-winter climates like ours, you can plant as early as September. There's no hard freeze waiting to damage tender growth, so an early planting simply gives the garlic more time to send up shoots and get larger before real cold arrives — a head start that carries right into spring.
In cold-winter regions, go by the weather more than the calendar: wait until regular cold has settled in and most other garden plants have been killed by frost, then plant while the ground is still workable. The goal there is rooting in before the ground freezes solid, not maximizing top growth that tender leaves would have to survive a hard freeze exposed. A small shoot before winter still isn't a failed planting — mulch protects it — but there's no need to rush it early the way a mild climate allows.
Order early. Seed garlic sells out quickly in summer and fall.
These are approximate starting points, not hard dates — elevation, local frost timing, snow cover, and an unusual fall can shift things by a couple of weeks either way. When in doubt, favor the climate-based guidance above over the calendar.
| Northern North Dakota & northern Minnesota | Late September to early October |
|---|---|
| Southern North Dakota & central/southern Minnesota | Early to mid-October |
| Northern & inland New York | Late September to mid-October |
| Milder parts of New York | October into early November |
| Western Oregon / Willamette Valley | September through mid-November |
Sources: University of Minnesota Extension, North Dakota State University Extension, Cornell Cooperative Extension, Oregon State University Extension.
Pick a sunny spot with loose, well-drained soil — garlic hates sitting in wet ground. Work in compost before planting. Raised beds or mounded rows help where drainage is poor.
In cold-winter regions, plant a cold-hardy hardneck — Music, German Red, Spanish Roja, or another locally adapted Porcelain, Purple Stripe, or Rocambole variety.
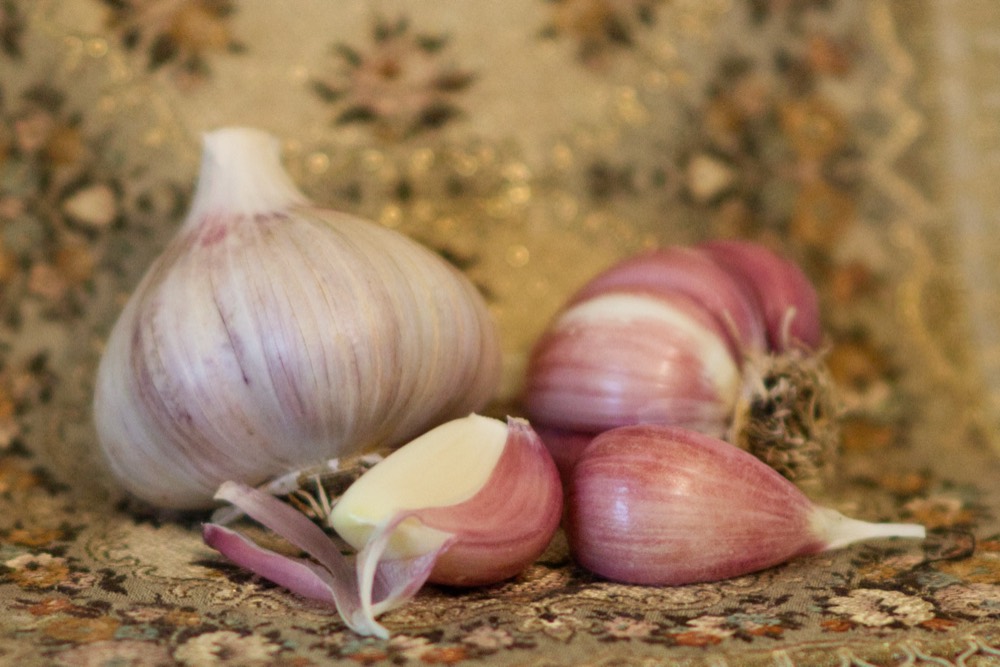
Break each bulb into individual cloves the day you plant, keeping the papery skin on each clove. Splitting too early lets them dry out. Plant the biggest cloves; save the small inner ones for the kitchen.
Set each clove with the flat root end down and the pointed tip up — 2 inches deep in mild climates, 2–3 inches where winters are cold, or up to 4 inches in the coldest regions (the northern Great Plains and upper Midwest). Firm the soil over it.
Give cloves 6-8 inches apart, with rows roughly 6-8 inches apart. Crowded garlic makes small bulbs.
Water the bed well, then cover it with 2 inches of compost, and if you live in cold regions, also cover with 3–4 inches of straw or shredded leaves. Mulch insulates against freeze-thaw over winter and keeps weeds down in spring.
| Planting time | Fall — as early as September in mild climates, or shortly after the first killing frost where winters are cold |
|---|---|
| Planting depth | 2″ in mild climates, 2–3″ where winters are cold, up to 4″ in the coldest regions |
| Spacing | 6-8″ between cloves, 6-8″ between rows |
| Orientation | Pointed tip up, flat root end down |
| Mulch | 3–4″ of straw or shredded leaves |
| Sun | Full sun, well-drained soil |
| Harvest | Mid-summer, when the lower leaves brown |
Cloves go into prepared, mulched beds and begin rooting before the cold sets in. A small shoot may poke through before winter — that's normal, and the mulch protects it.
The garlic sleeps under mulch. A cold spell is exactly what it needs to form good bulbs.
Green shoots push up and plants bulk out. Hardnecks send up curling scapes — snap them off.
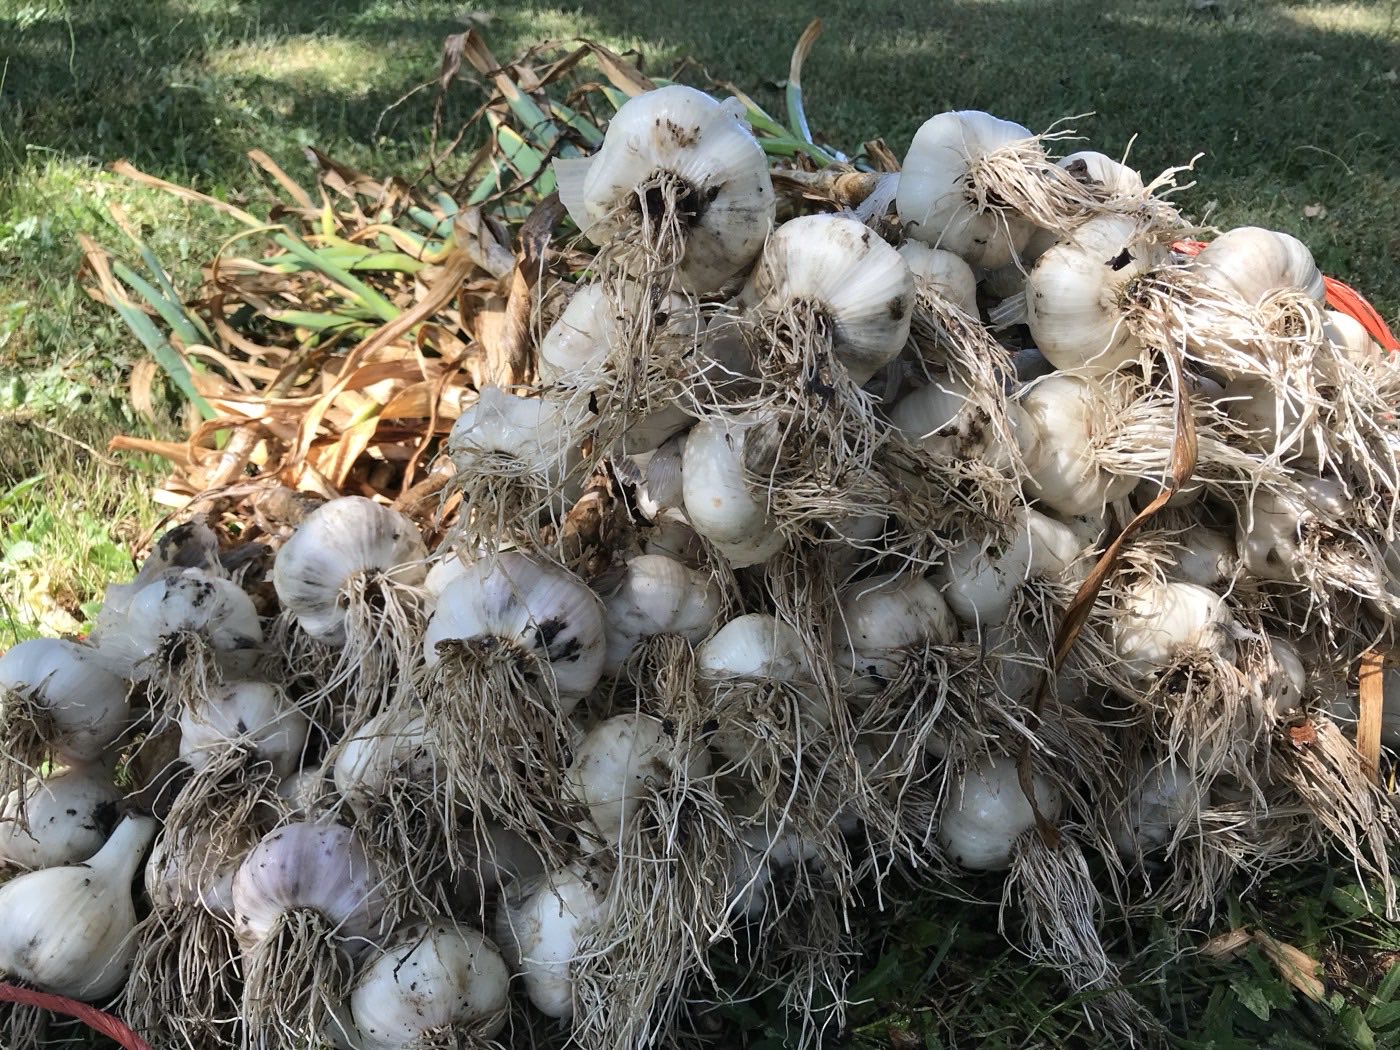
Bulbs are lifted in July, then cured in the shade for a few weeks before trimming and storing.
Scapes: in late spring, hardneck varieties send up a curling flower stalk. Snap or cut it off once it curls — this pushes the plant's energy back into the bulb, and the scapes themselves are delicious grilled or in pesto.
Harvest: pull garlic in mid-summer when the lower leaves have browned but five or six green leaves remain. Each green leaf is a wrapper layer around the bulb, so don't wait for the whole top to die back. Loosen the soil and lift — don't yank by the stalk.
Curing: cure the whole plants for 2–4 weeks in a warm, dry, airy spot out of direct sun. Once the necks are dry and papery, trim the roots and tops. Store cool and dry — never in the fridge.
Set aside your biggest, healthiest bulbs at harvest and replant them in the fall. Garlic adapts to your ground over a few seasons, so the more you grow it, the better it gets. A single order of seed garlic can plant a bed this year and seed the next.
Seed garlic sells out by variety. Order early for the best selection — or send us a note if you're not sure where to start.
Shop seed garlic